Creating a website in WordPress is a straightforward process that allows you to build a professional-looking site without extensive technical knowledge. Here’s a step-by-step guide to help you get started:
To start with the web development means creation of website you need to have a digital identity, means domain. Domain is used to search on the web and load the content hosted on the linked domain. So to start with website creation you can purchase a domain and the hosting first.
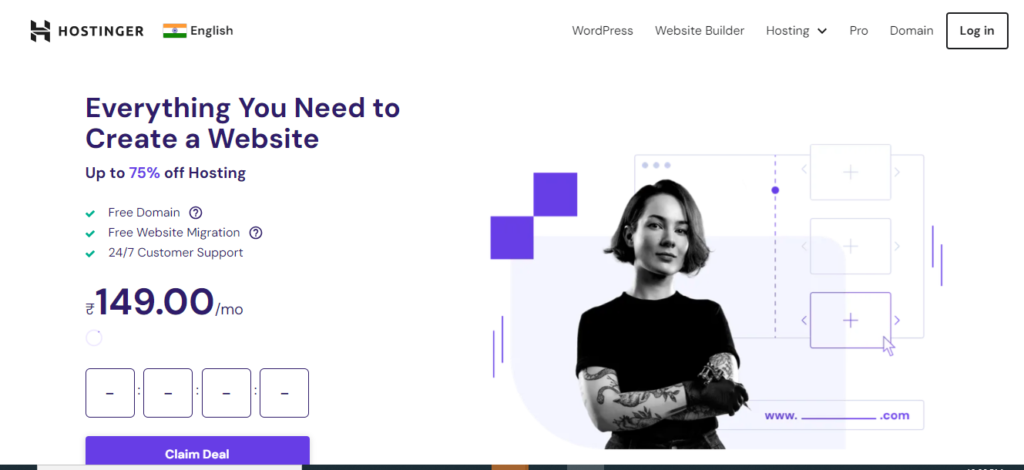
I am Using Hostinger as a hosting provider you can use any of the hosting services and for domain you can use hostinger , crazy domain, bigrocks, and go daddy etc.
If you want to purchase as domain and hosting from hostinger you can click on this link Purchase Now
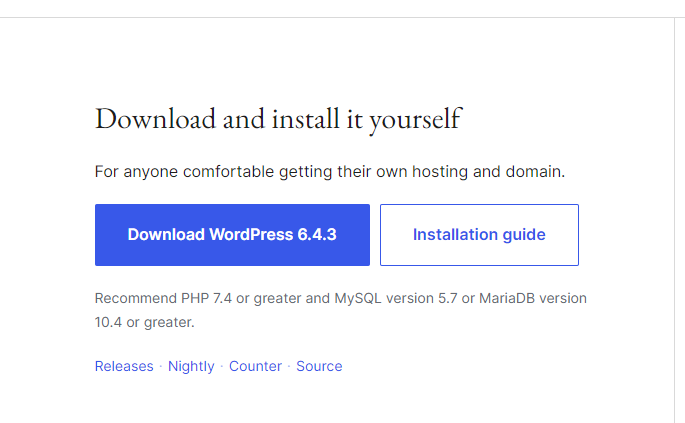
Once you Sign up with the hosting and domain purchase. you can start creating website by installing wordpress.
- Once wordpress is installed you can configure config.php file to add database , username and password to connect to database.
- The Database is created from hosting using mysql wizard after creating database , you need to create database user and the password. This details we need to add in config.php file of wordpress.
- Check the free or paid themes any which want to install, to start with you can choose free themes and install.
- You can refer the video also which i have made how to create wordpress website
- WordPress offers a wide range of free and premium themes that determine the design and layout of your website. Navigate to “Appearance” > “Themes” in the WordPress dashboard and browse through the available themes. Choose one that suits your website’s purpose and aesthetic preferences, then click “Activate” to apply it.
- Customize Your Website: Personalize your website by customizing its appearance and functionality. Navigate to “Appearance” > “Customize” to access the WordPress Customizer, where you can modify various aspects of your site, including colors, fonts, header/footer settings, and more. Some themes may offer additional customization options through their settings panel.
- Create Pages and Posts: Start building your website’s content by creating pages and posts. Pages are static, standalone content (e.g., About Us, Contact Us), while posts are typically used for dynamic content such as blog entries. Navigate to “Pages” > “Add New” to create new pages, and “Posts” > “Add New” to create new blog posts. Use the built-in editor to add text, images, videos, and other media to your content.
- Install Plugins: WordPress plugins extend the functionality of your website by adding new features and capabilities. Explore the “Plugins” > “Add New” section in the WordPress dashboard to browse and install plugins that suit your needs, such as SEO optimization, security, contact forms, and more.
- Optimize for SEO: Improve your website’s visibility in search engine results by optimizing its SEO (Search Engine Optimization). Install an SEO plugin like Yoast SEO or Rank Math and follow their recommendations to optimize your content, meta tags, and other elements for better search engine rankings.
- Launch Your Website: Once you’ve customized your website, added content, and ensured everything is working smoothly, it’s time to launch your site. Simply go to “Settings” > “General” and update your site title and tagline if necessary. Then, click “Save Changes” to make your website live for the world to see.