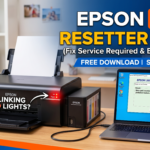
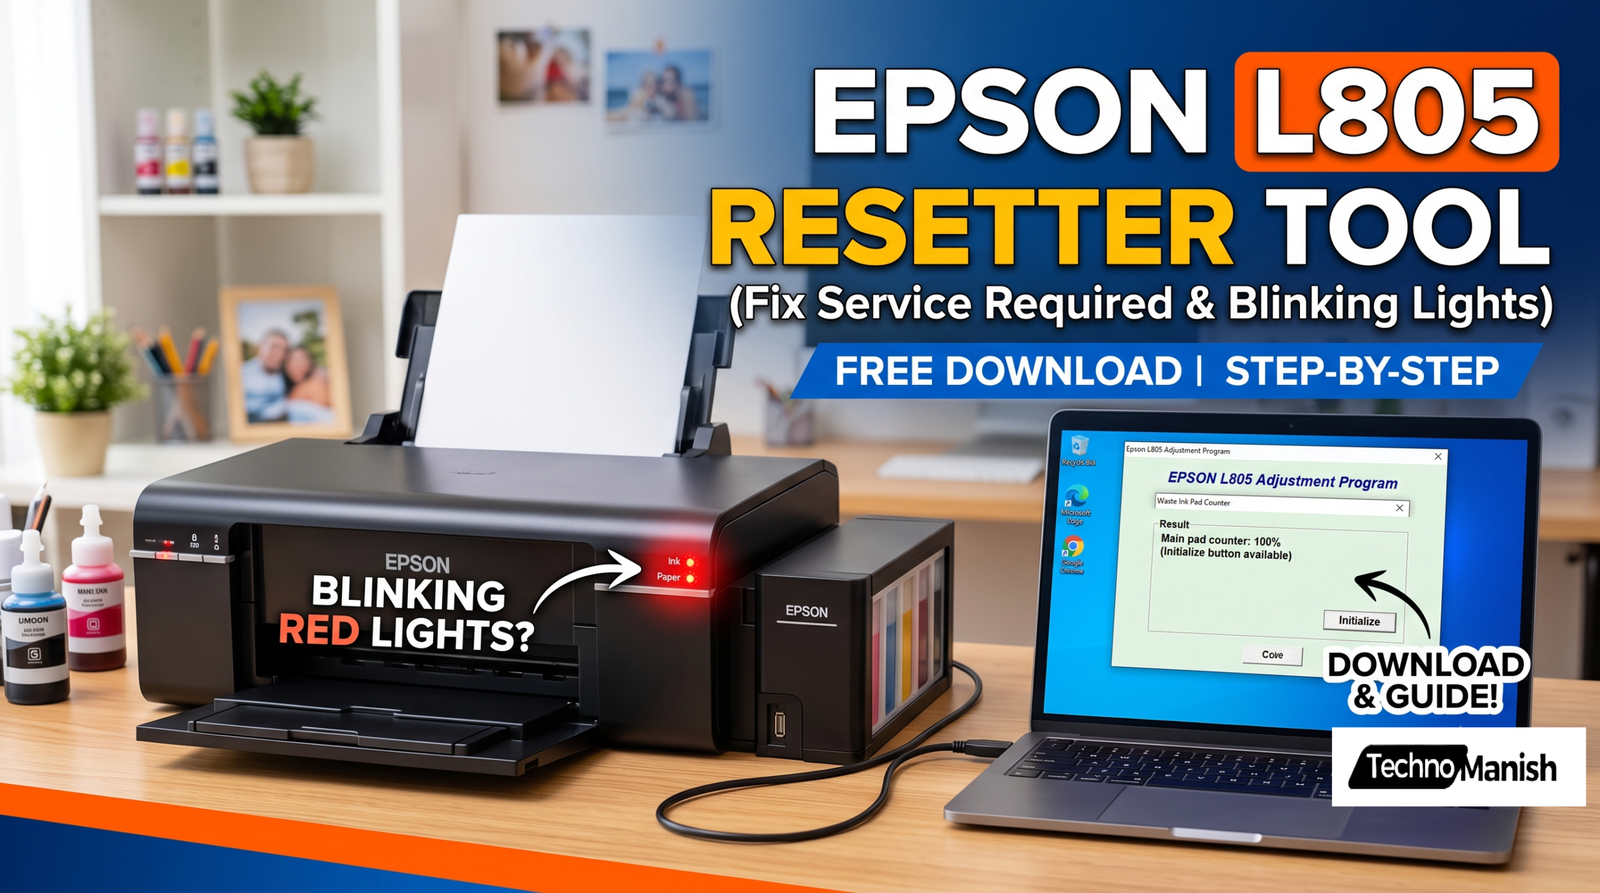
If you own an Epson L805 printer, you’ve probably run into the dreaded “Service Required” error at least once. Usually, both red lights start blinking at the same time, and the printer just completely stops working.
Don’t worry—you don’t need to pack it up and rush to the service center just yet. In this quick guide from Manish Enterprises, we’ll show you exactly how to fix this issue at home so you can get back to printing.
This error happens when the printer’s internal ‘Waste Ink Pad’ reaches its limit. To fix it, you just need a small piece of software called the Epson L805 Resetter Tool (also known as the Adjustment Program).
What does the Resetter Tool actually do?
The Epson L805 is a workhorse for photo printing, but every time it cleans its printhead, a little bit of ink gets dumped into a sponge pad inside the printer. Once the printer thinks this pad is full, it locks up to prevent ink from leaking.
The resetter tool simply resets that digital counter back to 0%. This tricks the printer into thinking a new pad has been installed, bringing it right back to life without changing any physical hardware.
A Quick Heads-Up Before You Start
- Use a USB Cable: This tool will not work over Wi-Fi. Make sure your printer is connected directly to your computer or laptop using a standard USB cable.
- Pause Your Antivirus: Windows Defender and other antivirus programs often flag resetter tools as viruses (false positives). Just disable your antivirus for 10-15 minutes while you do this, and turn it back on right after.
- Download Safely: Make sure you download the reset file from a trusted website to avoid actual malware.
How to use the Epson L805 Adjustment Program
Once you have the software downloaded, just follow these simple steps:
- Extract the files: Right-click the downloaded ZIP file and extract it to a normal folder.
- Open the program: Go into that folder and double-click the file named
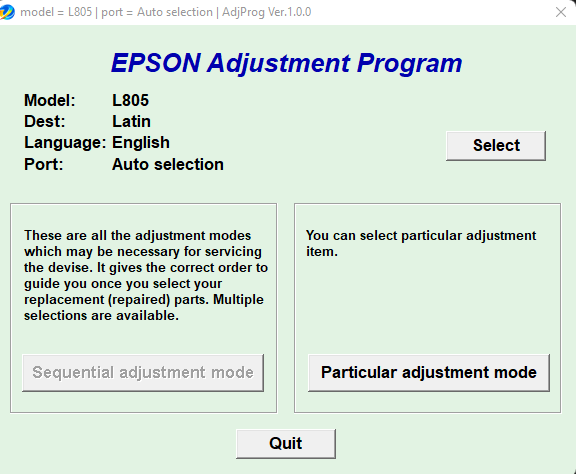
Adjprog.exe. - Select your model: When the tool opens, click on the Select button. Choose L805 under the Model Name drop-down. Leave the Port setting on ‘Auto selection’ and hit OK.
- Enter Adjustment Mode: Now, click on the button that says Particular adjustment mode.
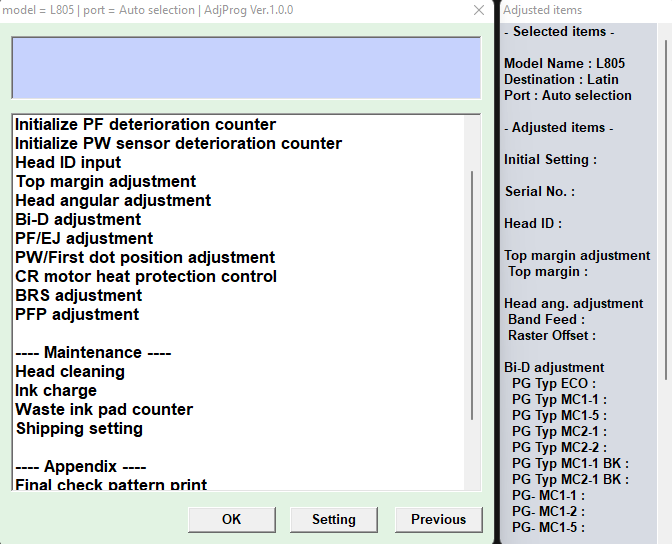
- Find the Ink Pad setting: A new window with a long list will pop up. Scroll down to the ‘Maintenance’ section, click on Waste ink pad counter, and press OK.
- Check the current levels: Check the little box next to Main pad counter. Then, click the Check button at the bottom. This will scan your printer and show you that the pad is at 100%.
- Reset it: Check that Main pad counter box one more time. Now, click the Initialize button. A small pop-up will ask you to confirm—just click OK.
- Restart your printer: The software will now tell you to turn off the printer. Press the physical power button on your Epson L805 to shut it down. Once it’s off, turn it back on.
That’s it!
Once your printer boots back up, those annoying blinking red lights will be gone, and you can start printing again. It’s a super easy fix that saves you a trip to the repair shop and keeps your workflow moving.
For more hands-on tech fixes, IT solutions, and printing tips, keep following the Techno Manish Blog